在Mac上搭建个人博客:Hexo + NexT + 自定义域名搭建永久有效的个人博客网站
本文介绍在 Mac 上搭建 Hexo 博客的步骤,包括环境安装、NexT 主题、自定义域名和 GitHub Pages 发布。
配置Github项目
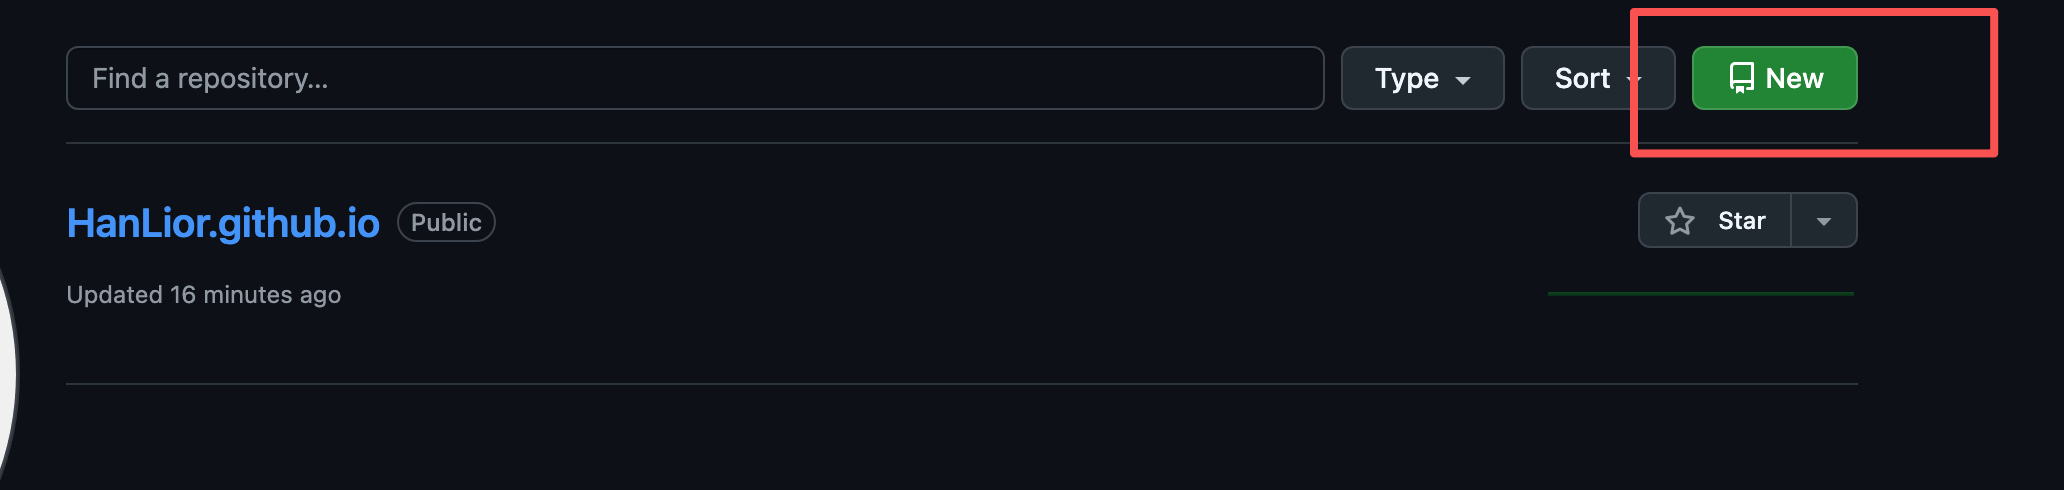
在Github右上角点击Repository
然后去New一个
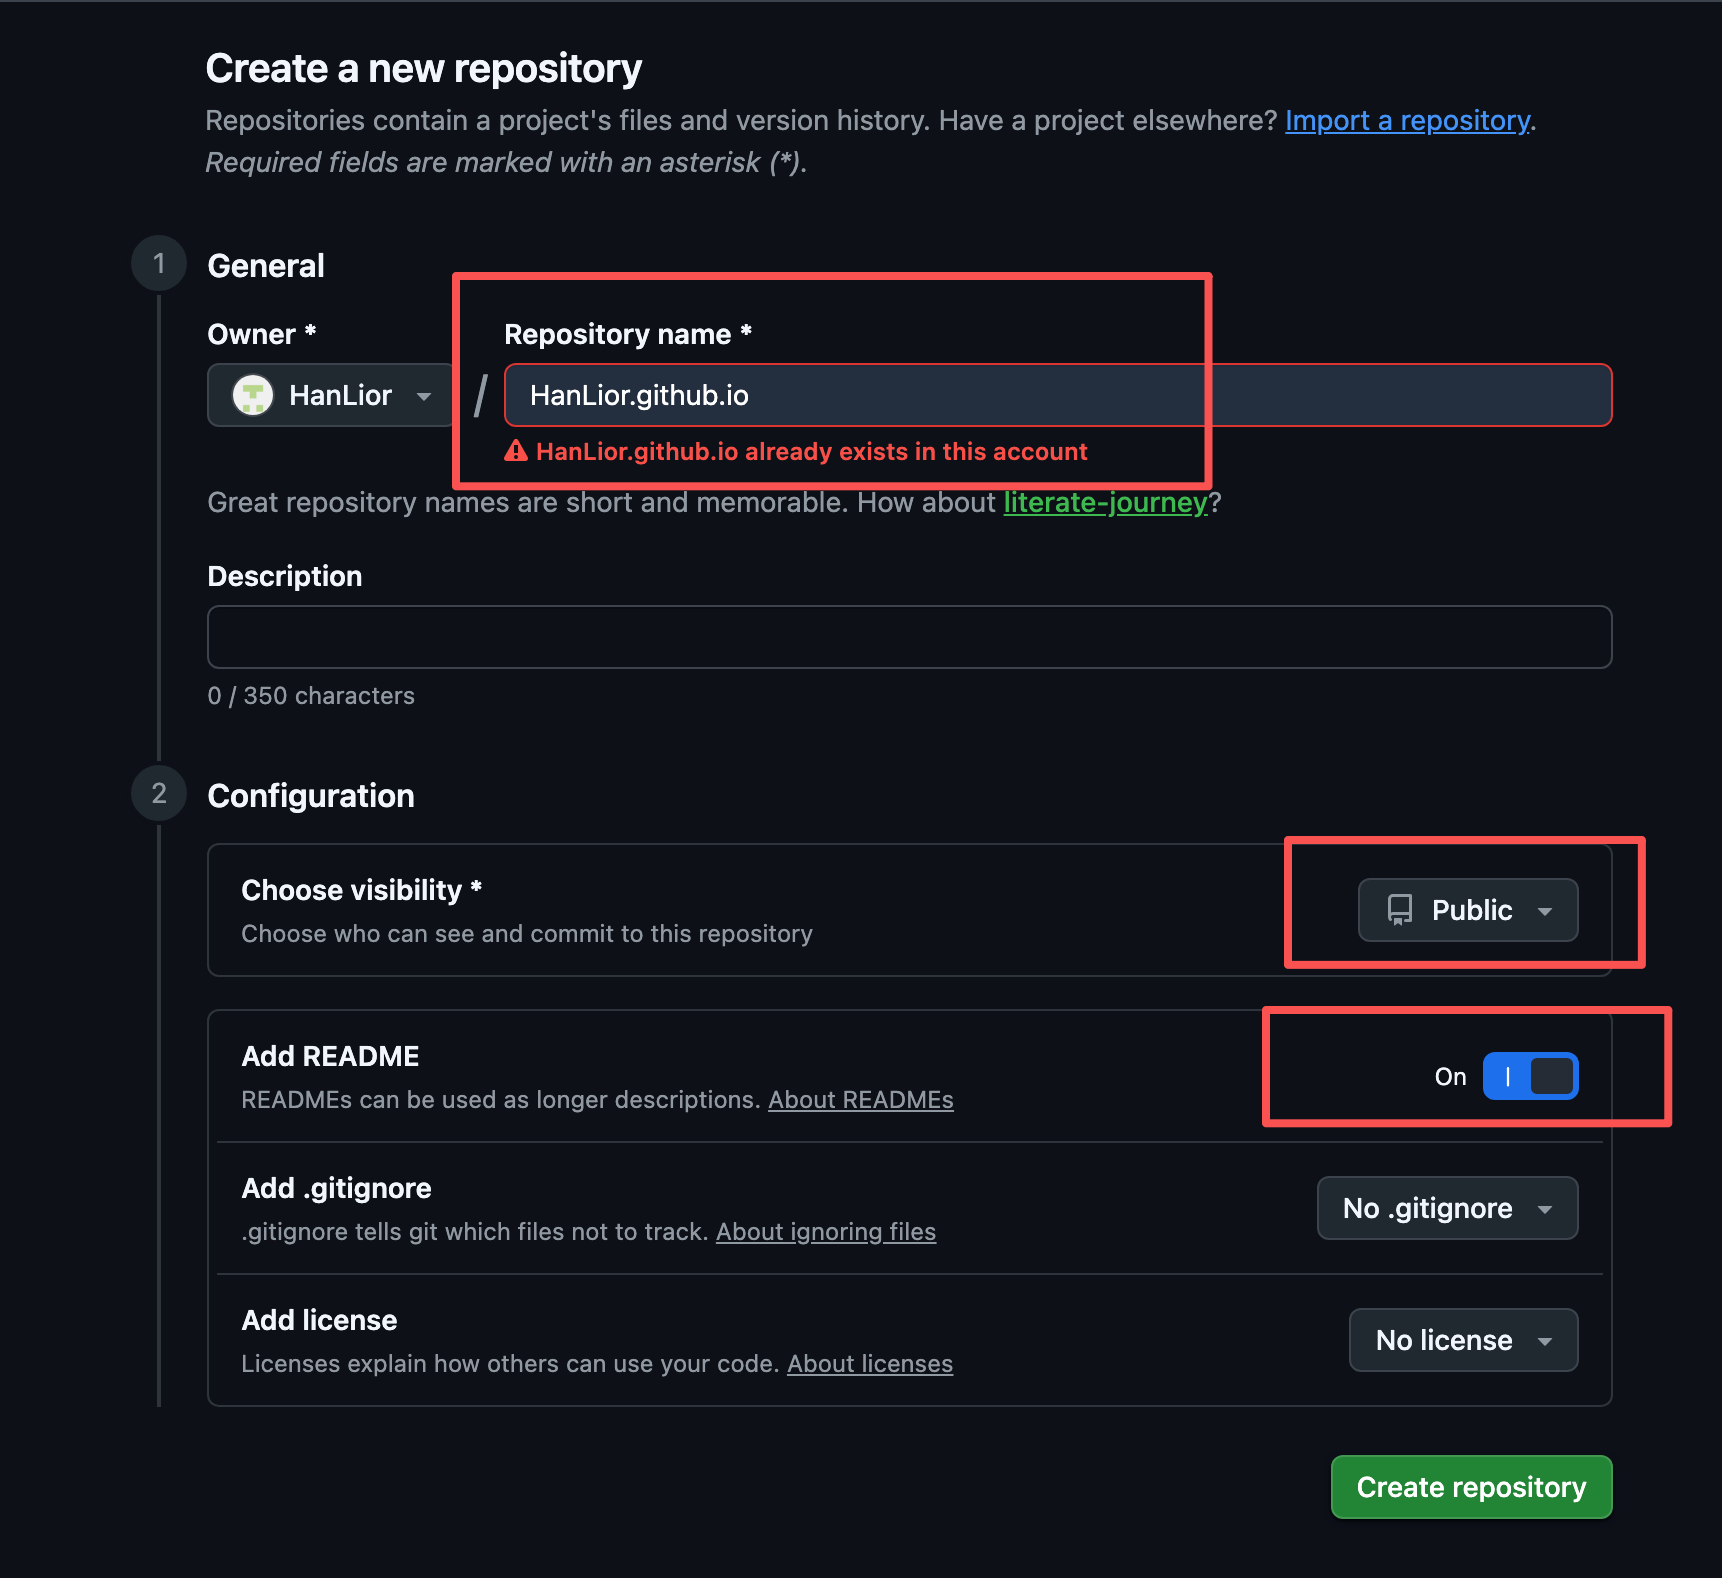
按照下面的输入配置,名字输入自己想要起的名字就可以
1 | 生成密钥 |
如果出现这样的字就是代表可以链接成功

设置账号信息:
1 | git config --global user.name "HanLior" |
设置github邮箱:
1 | git config --global user.email "你的 GitHub 邮箱" |
下载Git
这里我用的homebrew下载的git
1.先安装homebrew
1 | /bin/bash -c "$(curl -fsSL https://raw.githubusercontent.com/Homebrew/install/HEAD/install.sh)" |
2.通过Homebrew安装Git
1 | brew install git |
3.验证是否安装成功

出现这样的就是安装成功
安装node.js
1.下载node.js
1 | brew install node |
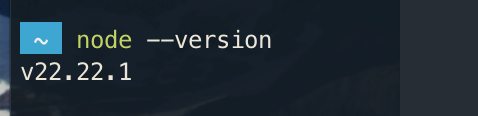
2.验证是否下载成功
1 | node --version |
搭建Hexo
1.切换阿里云镜像源
1 | npm config set registry https://registry.npmmirror.com |
2.安装cnpm
1 | npm install -g cnpm --registry=https://registry.npmmirror.com |
3.用 cnpm 安装 hexo
1 | cnpm install -g hexo-cli |
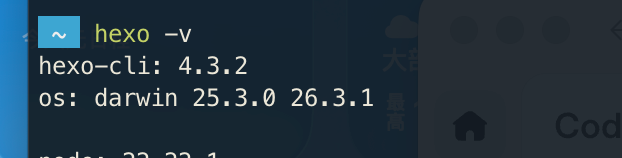
4.验证是否安装成功
本地创建Hexo博客文件
先在本地目录里面创建一个文件夹
1 | mkdir blog |
然后看到blog目录文件里面有这些东西就可以

1 | node_modules: 依赖包 |
启动cnpm install

启动hexo hexo s -g

访问127.0.0.1:4000
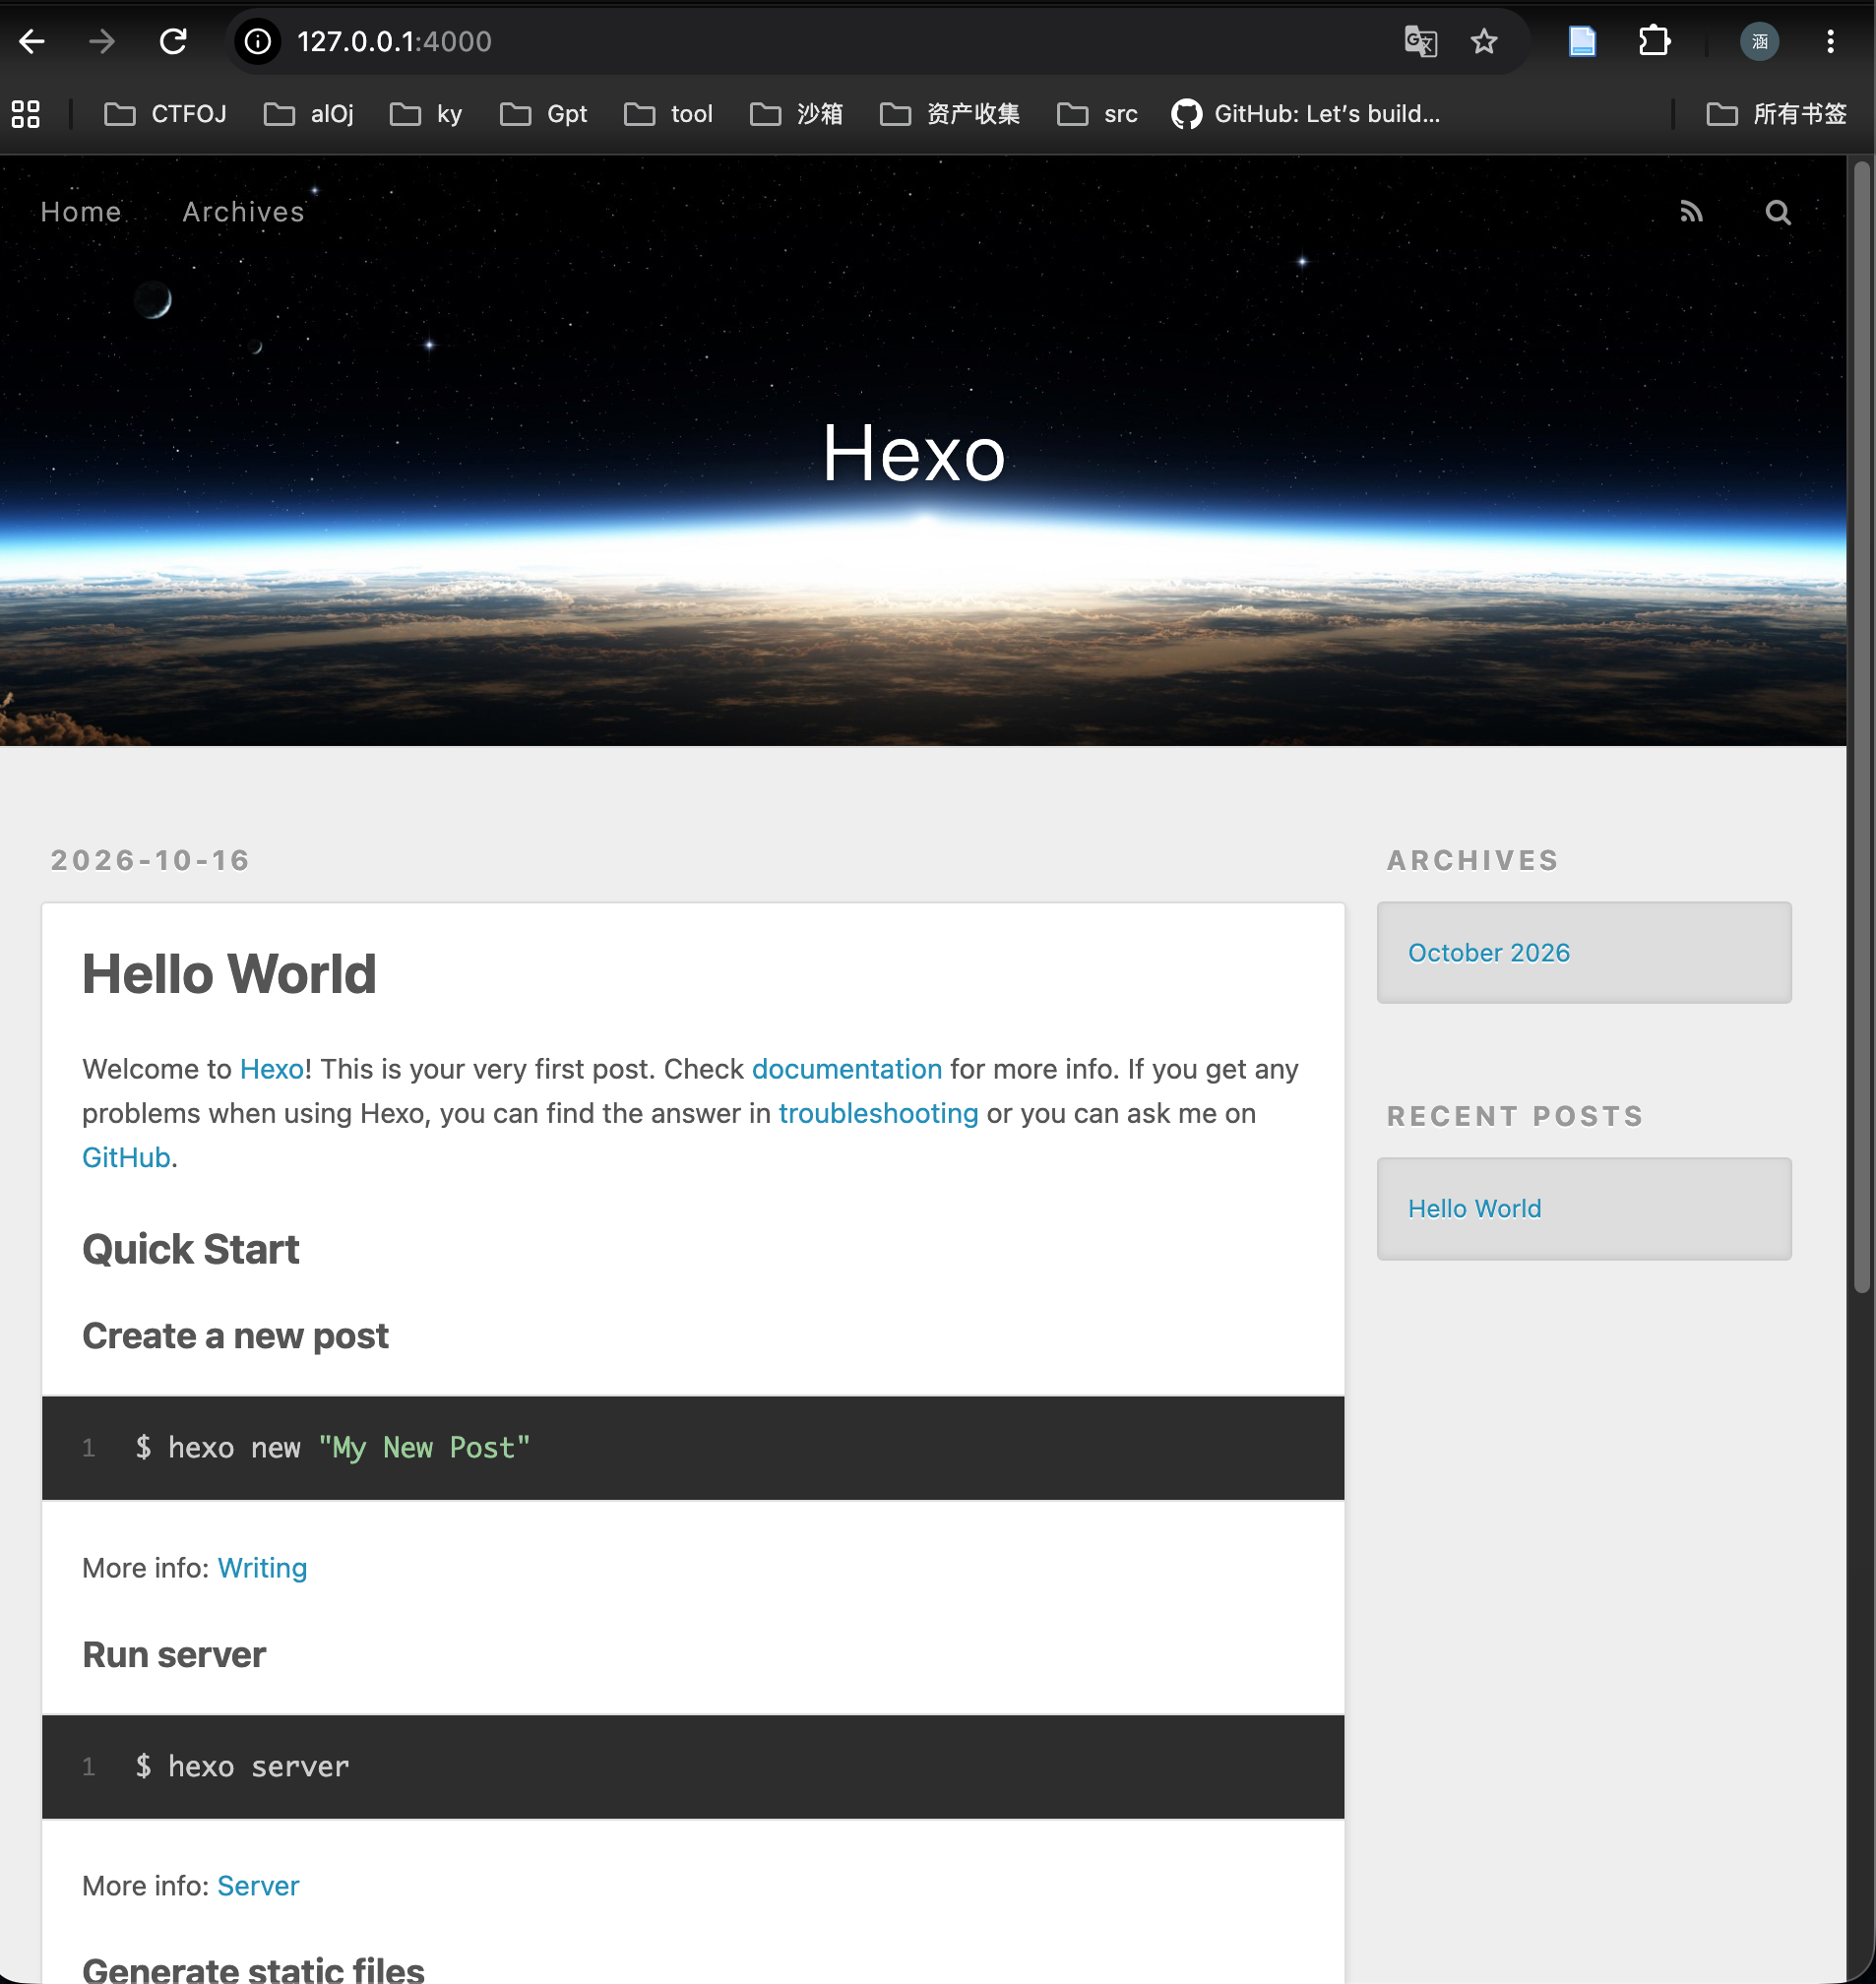
配置域名解析,可以参考这篇文章
https://www.duheweb.com/post/20210417143744.html
然后去github配置一下域名,启用https
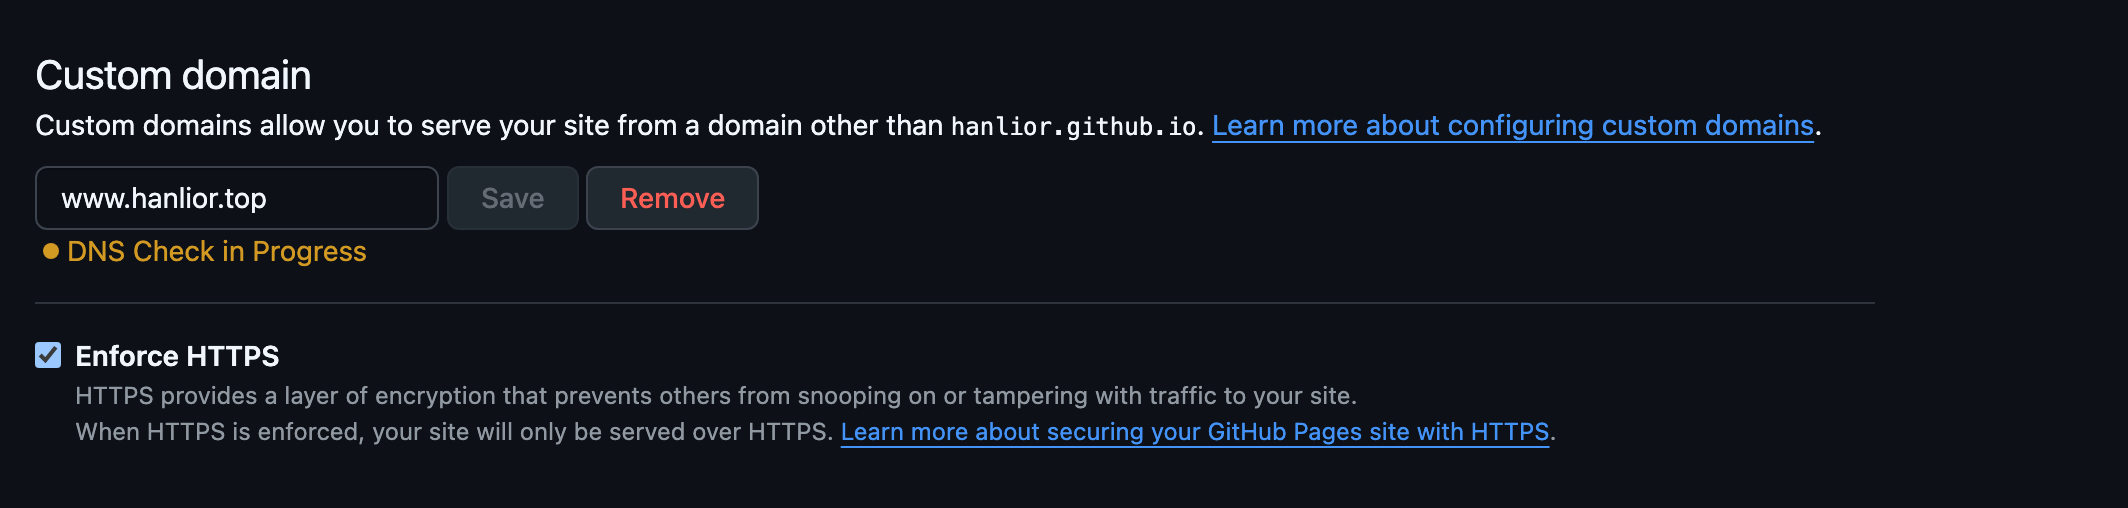
本站实际配置记录
以下配置对应本博客当前使用的 GitHub 仓库和域名:
- GitHub 用户:
HanLior - Pages 仓库:
HanLior/HanLior.github.io - 域名:
www.hanlior.top - Hexo 项目目录:
/Users/cr1sp/blog - Hexo:8.1.2;NexT:8.21.1,Pisces 风格
配置 DNS
在域名服务商的 DNS 解析页面添加以下记录。根域名用 4 条 A 记录,www 用 CNAME;CNAME 的记录值不要带 https:// 或末尾路径。
| 主机记录 | 类型 | 记录值 |
|---|---|---|
@ |
A | 185.199.108.153 |
@ |
A | 185.199.109.153 |
@ |
A | 185.199.110.153 |
@ |
A | 185.199.111.153 |
www |
CNAME | HanLior.github.io |
在 GitHub 仓库 HanLior/HanLior.github.io 的 Settings → Pages 中,发布来源选择 Deploy from a branch,分支选择 main、目录选择 /(root)。Custom domain 填 www.hanlior.top。等 DNS 检查和 TLS 证书签发完成后,再启用 Enforce HTTPS。
在 Hexo 的 source/CNAME 文件中只写自定义域名:
1 | www.hanlior.top |
不要把 CNAME 文件放在 source/_posts 里,也不要把它命名为 CNAME.txt。
配置 Hexo 部署到 GitHub Pages
在博客根目录 /Users/cr1sp/blog 安装部署插件:
1 | npm install hexo-deployer-git --save |
在根目录的 _config.yml 配置仓库和分支:
1 | deploy: |
每次发布前先清理并重新生成,再部署:
1 | npx hexo clean |
也可以依次使用 hexo clean、hexo generate、hexo deploy。第一次在本机部署时需要已经配置 GitHub SSH Key,并确认 ssh -T git@github.com 可以连接。
安装并启用 NexT 主题
本站使用 NexT 8.21.1,主题通过 npm 安装并由 package.json 管理:
1 | npm install hexo-theme-next@8.21.1 --save |
Hexo 根目录 _config.yml 中设置:
1 | theme: next |
主题设置写在博客根目录的 _config.next.yml,不是 themes/next/_config.yml。本站使用 Pisces、深色模式、左侧文章侧栏、中文导航和 GitHub 个人链接:
1 | scheme: Pisces |
menu 中的页面需在 source 目录下创建对应页面。本站有分类、标签和关于页面;目前没有文章,所以暂时不显示归档入口。以后发布文章后,可以在主题配置里加上:
1 | archives: /archives/ || archive |
创建分类、标签和关于页面
可用 Hexo 命令生成页面:
1 | npx hexo new page categories |
命令会创建 source/<页面名>/index.md。分类页和标签页的 front matter 分别设置 type: categories、type: tags;这些页面以及关于页均可设置 comments: false。例如:
1 |
|
本站开启的搜索和 SEO 基础功能
安装搜索索引、Atom 订阅和站点地图插件:
1 | npm install hexo-generator-searchdb hexo-generator-feed hexo-generator-sitemap --save |
Hexo 根目录 _config.yml 中配置搜索索引、订阅和站点地图:
1 | search: |
NexT 的 _config.next.yml 开启本地搜索:
1 | local_search: |
本站还在 _config.next.yml 中启用了代码块复制和 Busuanzi 访问统计:
1 | codeblock: |
根目录配置还要填写站点标题、作者、语言、时区和正式网址。本站当前值如下:
1 | title: HanLior |
搜索引擎抓取规则放在 source/robots.txt:
1 | User-agent: * |
本站还开启了 NexT 深色模式。访问统计需要访客打开网页后才会逐步积累数据。
删除默认示例文章
Hexo 初始化时会生成 source/_posts/hello-world.md。删除该文件并重新部署后,文章和归档列表里就不会再显示 Hello World。删除博客最后一篇文章时,Hexo 可能不再生成首页,所以本站创建了 source/index.md 作为首页提示:
1 | --- |
之后写新文章可运行:
1 | npx hexo new post "文章标题" |
完成编辑后再运行清理、生成和部署命令。